Moving into a new office, or fitting out a new space within an existing building, creates a single opportunity to build the network correctly from the start. That opportunity does not repeat: once walls are closed, cables are buried, and furniture is in place, retrofitting corrections becomes costly and disruptive. The decisions made, and skipped, during the installation phase affect how the network performs for years.
This checklist is structured for IT managers, facilities leads, and project managers overseeing a new office network installation in Nigeria. It covers the three phases of any installation: pre-installation planning, the installation itself, and post-installation acceptance. For deployment and implementation projects of any scale, the same structure applies.
Phase 1, Pre-installation planning
Nothing in this phase requires any physical work. All of it affects the quality of everything that comes after.
Site survey and layout
- Obtain floor plans showing the full office layout, including walls, columns, ceiling voids, and any raised floors
- Mark all workstation positions and identify the number of data outlets required at each position (minimum two per workstation is the standard; plan for growth)
- Identify the location of the main network room or telecommunications room, it should be as central as possible to minimise cable run lengths, and not in a space with water risk, excessive heat, or dual-use with non-IT functions
- Survey cable routing from the network room to each workstation area, identify the route through ceiling voids, walls, or trunking, and measure distances (no horizontal run should exceed 90 metres; if it does, plan for an intermediate distribution point)
- Identify the location of the ISP entry point and confirm the ISP installation timeline, ISP delays are one of the most common causes of new office commissioning delays in Nigeria
- Check for EMI sources near planned cable routes (generator sets, large electrical panels, industrial equipment) and plan routing to maintain required separation distances
Design and specification
- Confirm cable category for horizontal runs (Cat 6 for standard installations; Cat 6A for 10 Gigabit to the desktop or data room backbone)
- Specify the network room enclosure: wall-mounted rack or floor-standing rack, sized for current equipment plus 30–50% growth headroom
- Design the rack layout: UPS at the bottom (heaviest), patch panels next, switches above, servers if any
- Specify the switching architecture: how many access-layer ports are needed, where intermediate distribution switches are required for larger floor plates
- Define VLAN requirements: corporate data, VoIP, management, guest wireless (these must be defined before switches are configured)
- Confirm wireless access point count and placement, based on the floor plan and expected user density, a site survey tool or the vendor's design tool can assist with placement
- Confirm ISP circuit type, speed, and redundancy requirements, if a failover link is needed, specify it now and engage the provider early
- Confirm IP addressing scheme: subnet ranges, VLAN assignments, gateway addresses, document before implementation begins
Power planning for the network room
- Calculate total IT load for the network room (all active equipment, measured in watts)
- Specify UPS for the network room: online double-conversion type, sized at 60–80% of rated capacity for the calculated load, with battery runtime for at least 15 minutes at full load
- Confirm a dedicated power circuit from the building distribution board for the network room
- Identify power requirements for active networking equipment outside the network room (corridor switches, wireless access points), plan UPS for these separately
- Confirm whether PoE (Power over Ethernet) will be used for wireless access points and IP phones, ensure switch PoE budgets match the load
Stakeholder and logistics coordination
- Confirm installation timeline with the construction or fit-out contractor, network cabling must happen before walls are closed and after conduit is installed
- Confirm who is responsible for installing conduit (typically the building contractor) versus pulling cables (the cabling contractor) versus installing active equipment (the IT team or MSP)
- Identify the point of contact for building access on the installation day(s)
- Confirm delivery addresses and access arrangements for equipment deliveries
Phase 2, Installation
Cabling
- Verify conduit has been installed correctly on all planned routes before pulling any cable, pulling cable through absent or incorrectly sized conduit is not possible after the fact
- Pull cable according to the design, no shortcuts through unprotected routes
- Maintain minimum bend radius at all turns (for Cat 6, a minimum of four times the cable diameter, approximately 25mm, is required)
- Maintain separation from power cables throughout all routes
- Terminate cables at patch panels in the network room and at wall outlets at the workstation end, all terminations to T568B standard (or consistently T568A, not mixed)
- Label every outlet and every patch panel port with a consistent identifier (e.g., F1-01 for Floor 1, Outlet 01)
- Seal all cable penetrations through fire-rated walls with fire-rated putty or collars
Network room fit-out
- Mount rack securely and level, an unsecured rack is a safety and equipment risk
- Install patch panels in the rack; terminate horizontal cables to the correct panel ports
- Install UPS first (at the bottom of the rack); power the rack from the UPS once it is in place
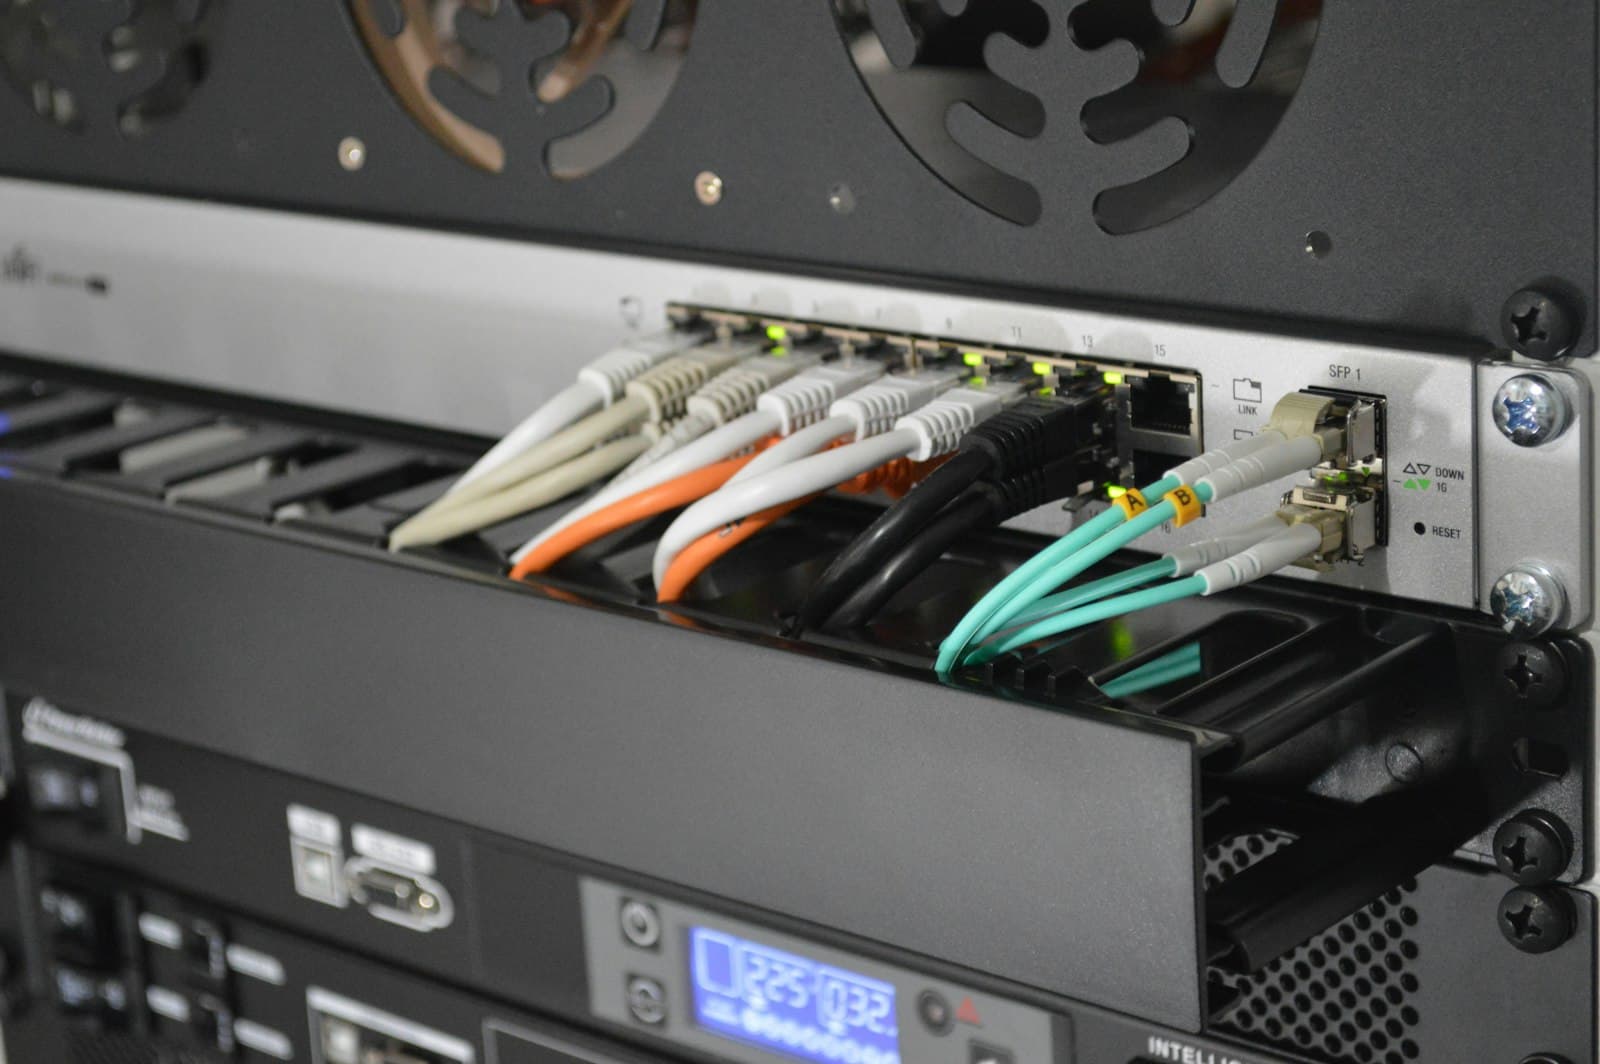
- Install switches in the rack; connect patch cables from panel to switch with appropriate length patch leads (not excess coiled cable)
- Install and cable any other network room equipment (firewall/router, server)
- Label all patch cables at both ends
- Dress cables inside the rack using cable management panels and ties, a managed cable run takes the same time to install as a tangled one and a fraction of the time to troubleshoot
Active equipment configuration
- Configure all switches: hostname, management IP on the management VLAN, VLAN trunk and access port assignments, spanning tree settings, PoE port assignments
- Configure the router or firewall: WAN interface(s), LAN interfaces, routing, DHCP server, NAT, firewall rules, VPN configuration if applicable
- Configure wireless access points: SSIDs, VLAN assignments, security mode (WPA2/WPA3 Enterprise for corporate SSID; WPA2/WPA3 Personal or open with captive portal for guest)
- Configure UPS network card if equipped: set up monitoring alerts for power events, battery health, and runtime
The configuration phase is where most installations fall short: equipment is connected and appears to work, but is not configured to the standard or documented. A network that is not documented is one that the next engineer will have to reverse-engineer.
Phase 3, Testing and acceptance
Cable plant testing
- Test every installed cable link with a cable certifier (not just a continuity tester) and document results
- Resolve all failing links before sign-off, repair or replace as necessary
- Retain the certification report as part of the project documentation
Network functionality testing
- Confirm that each workstation outlet provides network connectivity on the correct VLAN
- Confirm that VLAN segmentation is working: a device on the guest VLAN should not be able to reach resources on the corporate VLAN
- Confirm that DHCP assigns addresses correctly on each VLAN
- Confirm internet connectivity from each VLAN that requires it
- Confirm VPN connectivity if applicable
- Test wireless coverage throughout the space, identify any dead spots and adjust access point configuration or add access points as needed
- Test VoIP call quality if an IP phone system is deployed
- Test UPS function: simulate a power failure and confirm that equipment continues operating and that monitoring alerts are generated
Documentation and handover
- Produce an as-built network diagram showing physical and logical topology
- Record all IP address assignments, VLAN assignments, and device configurations
- Record all cable outlet identifiers with the physical location they correspond to
- Collate all equipment serial numbers and warranty registration details
- Hand over all documentation, configuration backups, and access credentials to the client IT team or responsible manager
Frequently asked questions
What if the ISP hasn't connected the circuit by the time we finish the internal installation?
This is one of the most common causes of delay in Nigerian office setups. Complete all internal work, cabling, rack installation, equipment configuration, and test everything on the local network. The internal network can be verified in full without the ISP circuit. When the ISP connects, the handoff is a single port plug-in to the already-configured router.
Can we use the same cabling contractor as the electrical contractor?
Some electrical contractors offer data cabling services, but electrical and data cabling require different skills and tools. Data cabling installation requires proper cable management, correct termination technique, and certification equipment. Verify that the contractor has data cabling experience and certification capability, not just electrical competence, before engaging them for both scopes.
How long should a network installation for a 50-person office take?
A 50-person office with 50–60 data outlets, a single network room, and standard switching will typically take three to five installation days for cabling and a further one to two days for active equipment configuration and testing. This assumes the conduit is already in place. A realistic project timeline, including design, procurement lead time, site access coordination, and ISP installation, is six to eight weeks from engagement to commissioning.
When should we engage the network installer relative to the building fit-out?
Engage the installer before the fit-out contractor closes walls and ceilings. The network installer should be on-site to install conduit (or to coordinate with the electrical contractor who is doing so) before plastering or drywall. Returning to run cables through finished walls costs more and produces worse results than installing correctly during the open-wall phase.